How To Tie A Bandana Around Your Head: Simple Styles For Every Look
Do you ever feel like your outfit needs just a little something extra, a pop of color, or perhaps a touch of effortless cool? Well, a bandana might be just the thing you're looking for. These versatile fabric squares, you know, they really can transform a simple look into something quite special, offering a fresh twist without much fuss. It's almost like a secret weapon in your wardrobe, a bit like finding that perfect accessory that just clicks.
For ages, people have used bandanas for all sorts of things, from practical uses like wiping sweat to making a bold fashion statement. They are, in a way, a truly timeless accessory that seems to always find its way back into popular trends. Learning how to tie a bandana around your head isn't just about fashion; it's about expressing your own unique flair and adding a touch of personality to your everyday style, which is rather nice.
This guide will show you exactly how to tie a bandana around your head, covering a few popular styles that are surprisingly easy to master. We'll go through each step carefully, so you can pick the look that feels right for you, or maybe even try them all. Just like some excellent guides, such as those that break down complex tie knots into simple steps, making it almost "how to tie a tie for dummies" (as mentioned in `My text` regarding comprehensive tie-tying instructions from ties.com), we're going to make this process super clear for your bandana adventures.
Table of Contents
- Getting Ready: Picking Your Bandana and Preparing Your Hair
- The Classic Fold: Your Starting Point
- Style 1: The Basic Headband Look
- Style 2: The Full Head Wrap (Boho Chic)
- Style 3: The Rosie the Riveter Vibe
- Style 4: The Turban Twist
- Making It Stay: Tips for All-Day Wear
- Beyond the Basics: Accessorizing Your Bandana Look
- Troubleshooting Common Bandana Blunders
- Frequently Asked Questions About Bandanas
- Bringing Your Look Together
Getting Ready: Picking Your Bandana and Preparing Your Hair
Before you even think about tying, there are a couple of things to consider that really make a difference. Choosing the right bandana and getting your hair ready can set you up for success, you know, for that perfect look.
Choosing the Right Bandana
Most bandanas are square, typically around 22x22 inches, but sizes can vary a bit. For head wraps, a standard cotton bandana works beautifully because it's breathable and holds a knot well. You might find silk or satin ones, which are very soft and gentle on hair, but they can be a little more slippery to tie, that's something to remember.
When picking a color or pattern, think about your personal style. Do you like bold prints, or do you prefer solid colors? A classic paisley bandana is always a good choice, but there are so many fun, unique, and trendy designs out there, really. It's a bit like picking a designer tie, as `My text` mentions, where you can find something customizable and cool to match your vibe.
- Oops I Crapped My Pants
- Charles Barkley San Antonio
- How Do I Say Fish In Spanish
- Whole Foods Vegan Cake
- How To Roll Towels
Prepping Your Hair
Your hair's texture and how clean it is can affect how well the bandana stays put. If your hair is too silky clean, it might slip a little, so sometimes a day-old wash is actually better. You could also add a little dry shampoo or texturizing spray to give your hair some grip, which is a neat trick. For some styles, you might want your hair up in a bun or ponytail, while for others, leaving it down works perfectly. It just depends on the look you're going for, more or less.
The Classic Fold: Your Starting Point
Nearly every bandana style starts with this basic fold. It's the foundation, you know, for almost all the head-tying methods. Getting this step right makes everything else much easier, which is pretty important.
Lay it Flat: First, spread your bandana out on a clean, flat surface. Make sure it's smoothed out, without any wrinkles, you know, so it's really neat.
Fold into a Triangle: Take one corner and bring it diagonally across to meet the opposite corner. This will form a large triangle. You want the edges to line up as best as they can, which helps keep things tidy.
Roll or Fold from the Long Edge: Now, take the longest edge of your triangle (the folded side) and start rolling or folding it upwards, towards the point of the triangle. Keep your folds even and tight. The width of this band will depend on the style you're going for; a wider band is great for a full head wrap, while a thinner one works well for a headband, so that's something to think about. You'll keep rolling until you have a strip of fabric that's about 2-4 inches wide, or whatever width you prefer, really.
This neatly folded strip is what you'll use for all the following styles. It's the core piece, you see, that makes everything else possible. It's a bit like how mastering the basic '4 in hand' knot is a starting point for many tie styles, as `My text` explains.
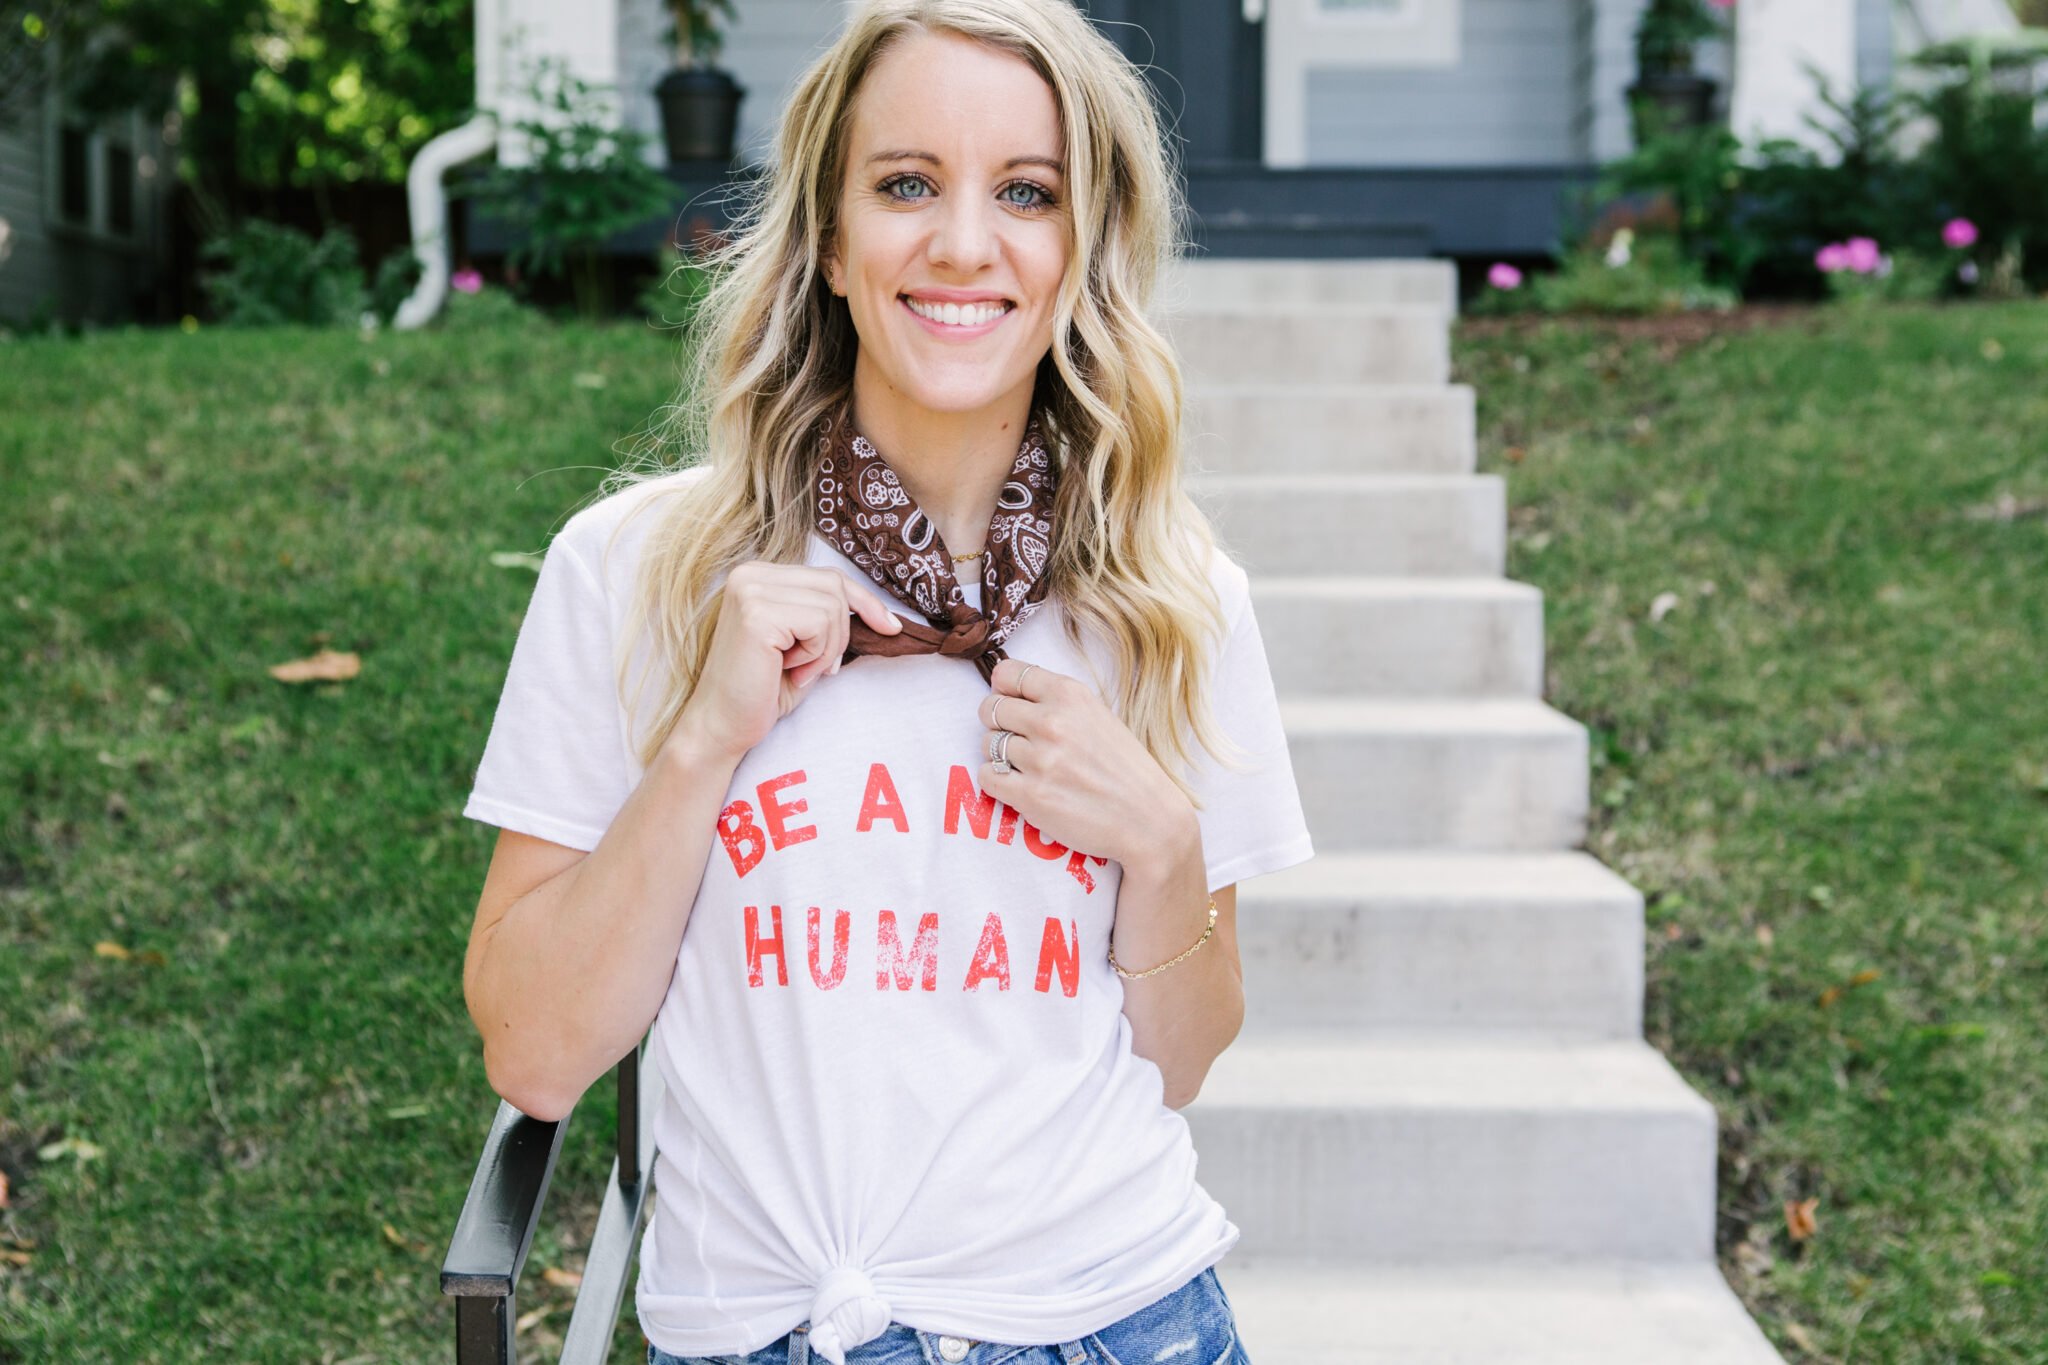
Style 1: The Basic Headband Look
This is probably the simplest and most popular way to wear a bandana. It's perfect for keeping hair out of your face or just adding a quick dash of color. It's a really easy look to pull off, you know, for anyone.
Fold Your Bandana: Start with your bandana folded into a strip, as we just discussed. Make it about 2-3 inches wide, or slightly wider if you like a bolder headband. You want it to be a consistent width, basically.
Position It: Hold the bandana strip with both hands, placing the middle of the strip against your forehead, just above your hairline. You can adjust it slightly higher or lower depending on where you want it to sit. Some people like it right at the hairline, others a bit further back, so it's up to you.
Bring Ends Back: Bring the two ends of the bandana around to the back of your head, underneath your hair if it's down. Make sure the strip stays flat against your head as you do this, you know, to avoid any bumps.
Tie a Knot: At the back of your head, gather the two ends and tie them into a double knot. Make it snug enough to stay put but not so tight that it's uncomfortable. You can tuck the loose ends under the bandana or let them hang free, which is a nice touch. This is, you know, a very straightforward method.
Adjust and Secure: Gently adjust the bandana to make sure it's sitting evenly and comfortably. You might want to use a couple of bobby pins, especially behind your ears, to really secure it, particularly if you have very smooth hair. This step helps it stay put all day, basically.
This style is so simple, it's basically "how to tie a bandana for dummies," just like `My text` mentions a very simple guide for tying a tie. It's a great starting point for anyone new to bandanas, really.
Style 2: The Full Head Wrap (Boho Chic)
This look offers more coverage and gives off a lovely bohemian or vintage vibe. It's perfect for bad hair days or when you want to make a real statement. It's a bit more involved than the headband, but still quite manageable, you know.
Fold Your Bandana Wider: For this style, you'll want a wider strip. Fold your bandana into a strip about 4-6 inches wide. This provides more fabric to cover your head. You want a good amount of coverage, so that's why it's wider.
Position at Nape: Place the middle of the folded bandana at the nape of your neck, underneath your hair. Let the two ends come up over your shoulders, towards the front of your head. This is a bit different from the headband style, you know.
Bring Ends to Forehead: Bring both ends up towards your forehead, crossing them over each other. You can cross them once or twice, depending on how much fabric you have and the look you want. Make sure the bandana is covering your hair as much as you like, you know, to get that full wrap effect.
Tie at Forehead: Tie the ends into a knot right at the top of your forehead, or slightly to the side. A double knot usually works best to keep it secure. You can leave the ends hanging or tuck them neatly under the wrap for a cleaner look. This part is really key for the style, basically.
Adjust and Secure: Gently pull and adjust the fabric around your head to ensure all your hair is covered, or just the amount you want to be. Smooth out any wrinkles. Again, bobby pins can be your best friend here, especially around the edges, to keep everything in place, which is really helpful for all-day wear.
This style, with its full coverage, is very popular for adding a touch of flair to casual outfits. It's quite versatile, you know, and can be worn with many different looks.
Style 3: The Rosie the Riveter Vibe
This iconic look is full of retro charm and a powerful message. It's playful, yet strong, and surprisingly easy to achieve. It's a very recognizable style, you know, with a lot of character.
Prepare Your Hair: For the classic Rosie look, it helps to have your hair pulled up into a high ponytail or bun. This gives the bandana something to sit around. You could also do a victory roll in the front if you're feeling ambitious, but it's not strictly necessary, you know.
Fold Your Bandana: Fold your bandana into a strip, about 3-4 inches wide. You want it wide enough to make a statement, but not so wide it overwhelms your head. This width is pretty good, basically.
Position from Nape: Place the middle of the folded bandana at the nape of your neck, underneath your hair (or bun/ponytail). Bring the ends up towards your forehead. This is similar to the full head wrap in its starting position, you know.
Tie at Top: Bring the ends up and tie them in a knot directly on top of your head, slightly off-center if you prefer. For the iconic look, tie a double knot and then fan out the loose ends to create a "bow" shape, almost like bunny ears. This is the signature part, really.
Adjust and Fluff: Adjust the bandana to make sure it's snug and the "bow" is positioned just right. You can fluff up the ends of the bandana to make them stand out more. A little hairspray can help keep your hair and the bandana in place, which is pretty useful.
This look is incredibly fun and makes a statement. It's a great choice for themed parties, or just when you want to add a touch of vintage cool to your day, you know, for a bit of fun.
Style 4: The Turban Twist
This style offers a chic, sophisticated look with a bit more coverage and elegance. It's perfect for adding a touch of glamour or for those days when you want to keep your hair completely tucked away. It's a bit more intricate, but very rewarding, you know.
Start with a Large Square: For this style, you might want a slightly larger bandana, or even a lightweight scarf, to ensure enough fabric. Don't fold it into a strip just yet. You want the full square, basically.
Position Over Head: Place the center of the bandana over the top of your head, covering your hair. Let the two opposite corners hang down over your shoulders. You want it to drape nicely, you know, over your head.
Gather and Twist: Gather the two hanging corners and bring them to the front of your head, just above your forehead. Twist these two ends together several times, creating a rope-like twist. Keep it fairly tight, but not uncomfortable, so it holds its shape.
Wrap Around Head: Once you have a good twist, wrap this twisted section around your head, tucking the ends under the bandana or into the twist itself. You can wrap it once or twice, depending on the length of your bandana and the look you desire. You're basically creating a crown, you know.
Secure and Adjust: Secure any loose ends with bobby pins. Adjust the fabric to make sure it's smooth and covers your hair as desired. This style often looks best when it's neat and sleek, so take your time with adjustments, which is pretty important. This is a very elegant style, you know, that really stands out.
The turban twist is a really stylish way to wear a bandana, offering both practicality and a fashion-forward edge. It's quite striking, you know, and can elevate any outfit.
Making It Stay: Tips for All-Day Wear
Nobody wants their bandana slipping off halfway through the day, do they? Here are some simple tips to keep your tied bandana secure, which is really helpful, you know, for peace of mind.
Bobby Pins Are Your Friends: Seriously, a few strategically placed bobby pins can make all the difference. Tuck them in where the bandana meets your hair, especially near the ears or at the nape of the neck. They're pretty much invisible, but they work wonders, basically.
Texturize Your Hair: If your hair is very fine or silky, a little dry shampoo or texturizing spray before you put on the bandana can give it some grip. This helps the fabric hold onto your hair better, which is a neat trick.
Double Knots: Always tie a double knot. A single knot might look neat, but it's much more likely to come undone. A double knot provides that extra security, you know, for all-day wear.
Snug, Not Tight: While you want the bandana to be snug, avoid tying it so tightly that it gives you a headache. A comfortable fit is key for long-term wear, so that's something to keep in mind.
Hair Type Matters: If you have very curly or textured hair, your bandana might stay put more easily. If your hair is super straight, you might need those bobby pins even more. It's just how it is, you know, with different hair types.
Beyond the Basics: Accessorizing Your Bandana Look
A bandana isn't just a piece of fabric; it's a fashion statement. Once you've mastered how to tie a bandana around your head, you can start thinking about how it fits into your overall look. It's pretty versatile, you know, and can complement many styles.
Casual Cool: Pair a simple headband bandana with jeans, a t-shirt, and sneakers for an effortlessly cool, everyday vibe. It's a classic for a reason, basically.
Boho Chic: A full head wrap looks amazing with flowy dresses, denim jackets, and sandals. Think music festival or a relaxed weekend outing, you know, for that earthy feel.
Retro Glam: The Rosie the Riveter style is perfect with high-waisted pants, a button-up shirt, or a polka-dot dress. It's very playful and nostalgic, you know, for a bit of fun.
Sophisticated Edge: A turban twist can elevate a plain dress or a tailored jumpsuit, adding a touch of unexpected elegance. It's a very chic choice, you know, for a more polished look.
Color Coordination: Pick a bandana that complements the colors in your outfit, or use it as a bold contrasting pop. Sometimes, that little splash of color is all you need, which is quite nice.
Remember, the goal is to have fun with it. There are so many ways to wear a bandana, and trying different styles can really help you discover what works best for you. It's a bit like finding the perfect tie for an occasion, whether it's a slim necktie or a bow tie, as `My text` suggests, where variety is key.
Troubleshooting Common Bandana Blunders
Even with the best instructions, you might run into a small issue or two. It's totally normal, you know, to have a little hiccup. Here are some quick fixes for common bandana problems.
Slipping Bandana: If your bandana keeps sliding back, your hair might be too smooth. Try adding some dry shampoo or texturizing spray, or use more bobby pins. Also, make sure your knot is snug enough, not loose, which is pretty important.
Too Tight/Gives a Headache: You've probably tied it too tightly. Untie it, loosen it slightly, and re-tie it. It should feel comfortable, not restrictive. A little adjustment can make a big difference, you know.
Bulky Knot: If your knot looks too big or lumpy, try a different type of knot, or make sure you're using a thinner bandana for that particular style. Sometimes, just adjusting how you tuck the ends can help, basically.
Ends Won't Stay Tucked: For styles where you tuck the ends, use bobby pins to secure them firmly. You can also try folding the ends into smaller, neater sections before tucking. This keeps things tidy, you know.
Not Enough Coverage: If you want more hair covered, make sure you're using a larger bandana or folding it into a wider strip. The full head wrap style is usually best for maximum coverage, so that's something to consider.
Practice really does make perfect with these things. The more you try, the easier and more natural it will feel, you know, to get it just right.
Frequently Asked Questions About Bandanas
What size bandana is best for tying around your head?
Most standard bandanas are about 22x22 inches, and this size works really well for most head-tying styles. If you have a lot of hair or want a fuller wrap, a slightly larger one, perhaps 24x24 inches, might be even better. It just depends on the look you're after, you know, and your hair volume.
Can I tie a bandana around short hair?
Absolutely! Bandanas look fantastic on short hair. For very short styles, the headband look works wonderfully, and you can secure it with bobby pins. A full head wrap can also look very chic, offering great coverage and a bold statement, you know, for a stylish touch.
How do I keep my bandana from slipping on my head?
To prevent slipping, try using bobby pins strategically placed where the bandana meets your hair, especially behind your ears. Adding a little dry shampoo or texturizing spray to your hair before tying can also give the bandana more grip. Make sure your knot is tied securely, but not too tight, you know, for comfort.
Bringing Your Look Together
Learning how to tie a bandana around your head truly opens up a world of style possibilities. From a quick, casual headband to a chic turban, these simple fabric squares can add so much personality to your look. It's a fun, affordable way to experiment with fashion and express yourself, which is rather nice. Just like learning any new skill, whether it's a complex tie knot or a simple bow, practice makes it easier and more natural. You can learn more about versatile accessories on our site, and perhaps even find inspiration for your next look by visiting our fashion trends page.
So, go ahead, grab a bandana (or two!), and start experimenting. You might


Detail Author 👤:
- Name : Prof. Vinnie Reichel Jr.
- Username : ziemann.alfredo
- Email : franecki.hilda@yahoo.com
- Birthdate : 1977-02-24
- Address : 72273 Herzog Ridge Lake Sarah, DE 85885
- Phone : 1-323-694-8877
- Company : Roberts, Schmeler and Daniel
- Job : Motor Vehicle Inspector
- Bio : Corporis maxime voluptatem laboriosam laborum et. Et officiis hic reiciendis cumque aut. Ex totam amet et perferendis molestiae. Quia illum impedit excepturi nemo.
Socials 🌐
tiktok:
- url : https://tiktok.com/@winfield.barton
- username : winfield.barton
- bio : Dolor quia consequuntur cupiditate aliquam voluptatum cum.
- followers : 1827
- following : 2649
twitter:
- url : https://twitter.com/winfieldbarton
- username : winfieldbarton
- bio : Labore non sapiente provident consequuntur dolorem earum. Inventore consequatur odio consectetur quae maiores quis. Est nihil ut nisi enim qui similique nulla.
- followers : 1409
- following : 138
instagram:
- url : https://instagram.com/wbarton
- username : wbarton
- bio : Et libero ducimus in ut. Dolor est ipsa et modi sapiente. Dicta dolor sint fugit vel.
- followers : 3206
- following : 908
linkedin:
- url : https://linkedin.com/in/winfieldbarton
- username : winfieldbarton
- bio : Est unde voluptatem corporis vero possimus natus.
- followers : 1400
- following : 2029
