Your Easy Guide To Cake Drawing: Simple Steps For Sweet Sketches
Have you ever looked at a truly wonderful cake and just felt a surge of joy? You know, the kind of cake that makes you think of celebrations, happy moments, and just pure delight. That feeling, it's pretty special, and it's almost like a little piece of art itself, isn't it? When it comes to desserts, cakes get all the attention for good reason, and it’s a lovely thing to think about. A moist cake topped with swooshes of sweet fluffy vanilla buttercream icing is an absolute classic, a real treat for the eyes and the taste buds, so it is.
You might think drawing such a delightful treat would be a bit tricky, perhaps even a little bit hard to get right. Maybe you've tried before and felt like your sketch just didn't quite capture that lovely, tempting look. But what if I told you that sketching a cake, a really good one, can be quite simple? It's true, you know, and it doesn't need to be something that makes you feel worried or anything like that.
This guide is here to show you just how easy it can be to bring those delicious visions to life on paper. We're going to explore some very simple ways to draw cakes, making sure you feel good about every line you make. You'll find out how to create a simple cake sketch, how to draw a birthday cake with all its fun details, and even some easy dessert doodles you can try out. It's all about making art feel like a piece of cake, literally!
Table of Contents
- Why Drawing Cakes is a Sweet Idea
- Getting Started with Your Drawing Tools
- The Basic Shapes of a Cake
- Adding Those Delicious Details
- Exploring Different Cake Styles
- Tips for Your Easy Cake Drawing Journey
- Frequently Asked Questions About Cake Drawing
Why Drawing Cakes is a Sweet Idea
Drawing cakes is, in a way, like celebrating all those wonderful feelings that real cakes bring us. Think about it for a moment: a really good chocolate cake, perhaps the kind with a rich sponge that forms a sandwich with a delicious white frosting, similar to that found in a red velvet. That sounds pretty amazing, right? Drawing allows you to capture that feeling, that sense of joy and sweetness, without needing a single ingredient. It’s a very relaxing thing to do, too, you know.
When you draw a cake, you're not just putting lines on paper; you're creating something that brings a little bit of happiness. It’s decadent, moist, and guaranteed to impress, even in drawn form, if you capture that feeling. It’s a way to express your creativity, to doodle something fun, and to maybe even imagine the taste of a moist cake. This can be a really nice way to unwind after a busy day, or just to spend some quiet time doing something you enjoy, you know, just for yourself.
Plus, cakes are incredibly versatile subjects for drawing. You can draw a simple cupcake, a grand multi-layered birthday cake, or even a single, perfect slice. Each one offers a chance to explore different shapes and textures, and it's almost like you're baking a cake with your pencil. You can’t beat a really good chocolate cake, and you can’t beat the fun of drawing one, either, in a way.
Getting Started with Your Drawing Tools
To begin your journey into easy cake drawing, you don't need a whole lot of fancy equipment. In fact, you probably have everything you need right at home, which is pretty convenient, isn't it? All you really need is a pencil, some paper, and an eraser. That's more or less it, honestly. A simple graphite pencil, maybe a regular HB or 2B, works just fine for sketching out your ideas.
The type of paper isn't too important when you're just starting out. Any plain paper will do, whether it's from a sketchbook, a notebook, or even just a loose sheet. The main thing is that it gives you a surface to draw on. And that eraser? It’s your best friend, really. It allows you to make changes, correct lines, and generally experiment without worrying about making a mistake that can't be fixed. So, don't be afraid to use it often, because that's what it's there for, actually.
Some people like to have a ruler for drawing straight lines, and that's perfectly fine if you want to use one. But for a cake drawing that feels more organic and hand-drawn, you can often just freehand your lines. It gives the drawing a bit more character, you know? The most important tool, though, is your willingness to try and have a little bit of fun with it. That’s what really matters, at the end of the day.
The Basic Shapes of a Cake
Every drawing, even one that looks really complex, starts with very simple shapes. Cakes are no different, in a way. If you can draw a circle, a rectangle, or a triangle, you're already well on your way to drawing a fantastic cake. It's basically about breaking down the cake into these fundamental forms. This approach makes the whole process much less intimidating, you know, and helps you build your drawing step by step.
For a round cake, you're mostly looking at cylinders. For a sheet cake, it’s going to be more like a rectangle or a cuboid shape. And if you're drawing a slice of cake, well, that's often a triangle. Once you have these basic shapes down, you can then start to add all the wonderful details that make a cake look so appealing. It's a very logical way to approach drawing, honestly, and it helps you keep things organized in your mind as you go along.
Remember to draw your initial shapes very lightly. These are just guidelines, sort of like a blueprint for your cake. You'll be drawing over them later with darker lines, so you want them to be easy to erase if you need to adjust anything. This light touch is quite important, as a matter of fact, because it gives you the freedom to experiment and refine your drawing as you go.
Drawing a Simple Round Cake Base
Let's start with a classic round cake, shall we? To begin, draw a flat oval shape. This oval will be the very top of your cake, the part you see when looking down on it a little. Don't worry if it's not a perfect oval right away; you can always refine it. This is just your starting point, after all, and it's pretty flexible.
Next, from each end of your oval, draw two straight lines going downwards. Try to make these lines more or less parallel to each other. These will form the sides of your cake. Think of them as the walls of a very delicious building, you know? Keep them relatively short for a single-layer cake, or longer if you're planning a taller creation later on. It's really up to you.
Finally, connect the bottom ends of those two vertical lines with another curved line, similar to the bottom half of your initial oval. This line will form the bottom edge of your cake. And just like that, you have a basic three-dimensional cylinder shape, which is the foundation of your round cake. It’s pretty neat how simple it is, actually, to get that basic form down.
Sketching a Slice of Cake
Drawing a slice of cake is also quite easy and offers a different perspective. Begin by drawing a triangle. This triangle will be the main body of your cake slice. Make it a bit wider at the bottom and narrower at the top, like a piece of pie. This is the basic shape, and it's very recognizable, you know.
Now, to give it some depth, draw a parallel line from the top point of your triangle, extending it slightly to the side. Then, draw another parallel line from the bottom corner of your triangle, also extending it slightly. Connect these two new lines with a short, vertical line. This creates the side of the cake slice, showing its thickness. It’s a bit like adding a third dimension to your flat triangle, really.
You can also add a small, slightly curved line on the top surface of your triangle to suggest the top crust or a bit of frosting. This little detail can make a big difference in how your slice looks, giving it a bit more character. It’s just a little touch, but it helps, sort of. And there you have it, a simple slice of cake ready for more details!
Adding Those Delicious Details
Once you have the basic shape of your cake down, it's time for the fun part: adding all those wonderful details that make it look truly irresistible. This is where your cake drawing starts to come alive, just like a real cake that's been beautifully decorated. Think about a moist cake topped with swooshes of sweet fluffy vanilla buttercream icing – that's the kind of visual goodness we're aiming for, you know?
These details are what give your cake personality and make it look like something you could almost reach out and eat. We'll talk about frosting, about layers, and about little decorations that add a special touch. It's about building up the visual interest, piece by piece. You'll find that even small additions can have a big impact on the overall look of your drawing, which is pretty cool, actually.
Don't feel like you have to add every single detail you can think of. Sometimes, less is more, especially when you're going for an easy cake drawing. Pick a few key elements that you like and focus on making those look good. The goal is to capture the essence of a delicious cake, not necessarily to create a photo-realistic masterpiece. It's about having fun with it, you know, and making something that makes you smile.
Creating Frosting and Icing
Frosting is, in some respects, the crown jewel of many cakes. Think of those lovely swooshes of sweet fluffy vanilla buttercream icing. To draw frosting, you can use wavy or squiggly lines on top of your cake base. Instead of a perfectly straight line, make it a little uneven, maybe with some gentle bumps or peaks to suggest that soft, fluffy texture. This gives it a more organic and appealing look, really.
For a cake with icing dripping down the sides, draw short, curved lines extending downwards from the top edge of your cake. You can make these lines vary in length to give the impression of drips. This technique adds a lot of visual interest and makes the cake look even more tempting. It’s a very effective way to show that rich, flowing texture, you know.
If your cake has a thick layer of frosting, you can draw a slightly wider, wavy band around the top edge of the cake. This shows that generous coating of deliciousness. Remember, frosting isn't always perfectly smooth; it often has little imperfections and swirls, and those are actually good things to include in your drawing because they make it look more real, sort of.
Layering Your Cake Drawing
Many cakes are made with multiple layers, and these layers can add a lot of visual appeal to your drawing. Think about a colorful cake with its tall layers, perfect for any birthday party. To show layers in your drawing, simply draw horizontal lines across the body of your cake. These lines will represent where one cake layer ends and the next one begins. It's a pretty straightforward way to add depth.
Between these cake layers, you can add thinner, slightly wavy lines to represent the frosting or filling that holds the layers together. This is similar to how the sponge is Ree's best chocolate sheet cake, which here forms a sandwich with a delicious white frosting. These little lines make your cake look more complex and interesting, even though they are very simple to draw. It’s a nice touch, actually.
If you are drawing a slice of cake, you can show the layers by drawing horizontal lines inside the triangle shape. This reveals the cross-section of the cake, showing off its interior structure. It’s a great way to suggest that moistness and the different textures within the cake, you know, without having to draw every single crumb. It really helps the viewer understand what they are looking at.
Decorating Your Sweet Creation
Once you have the frosting and layers in place, it's time to add some decorations! This is where you can really let your imagination run a bit wild. Sprinkles are super easy to draw; just make tiny dots or short, thin lines all over the frosting. They add a lot of cheer and color, even if you're just using a pencil. It's a very simple detail that adds a lot of fun, honestly.
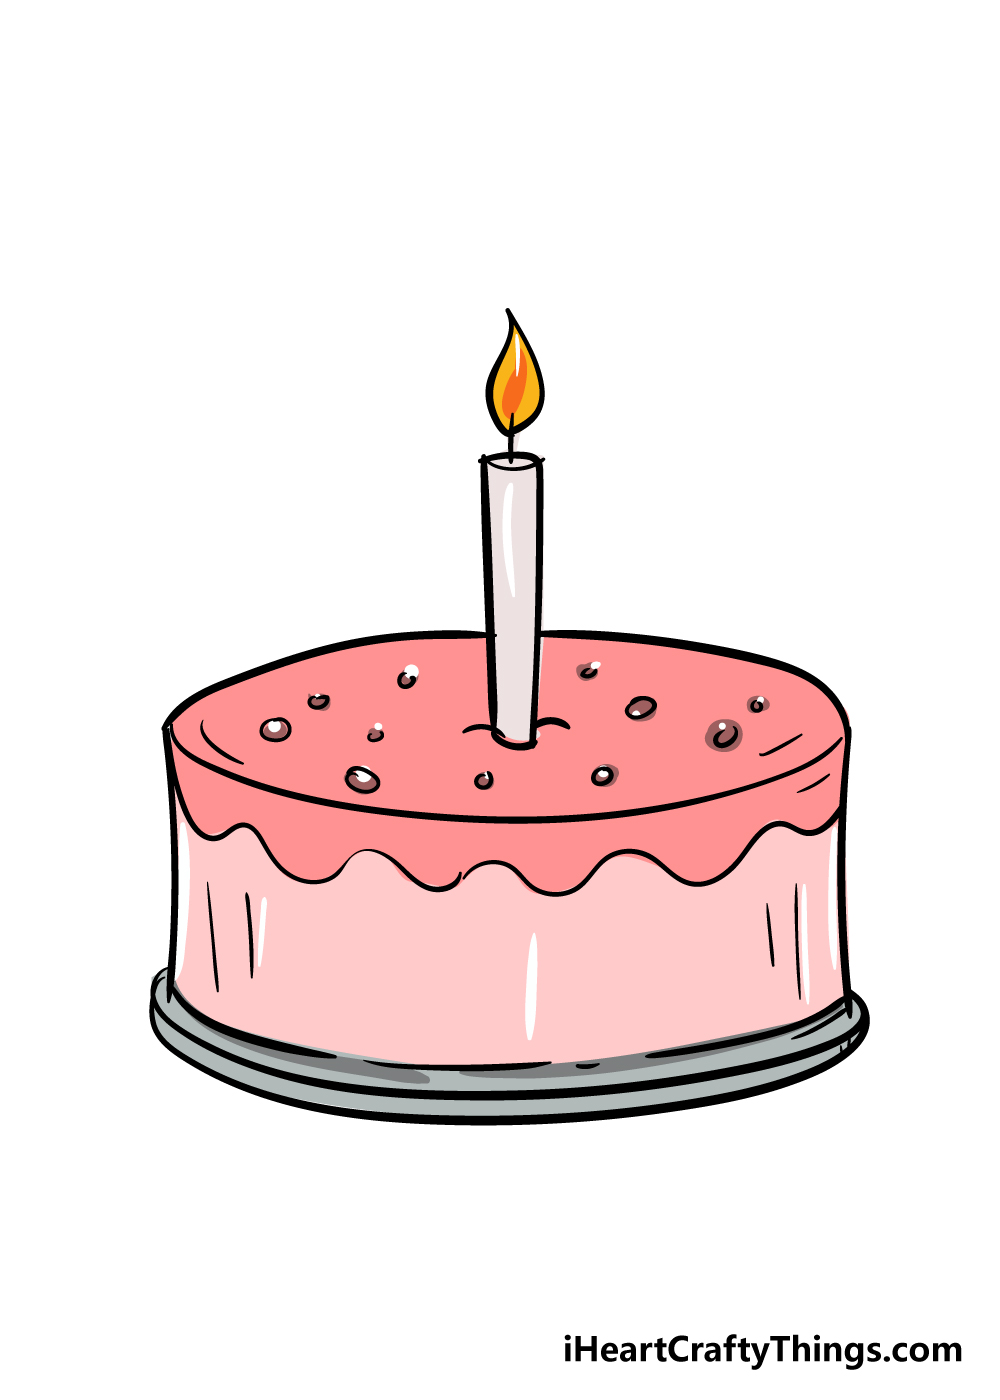
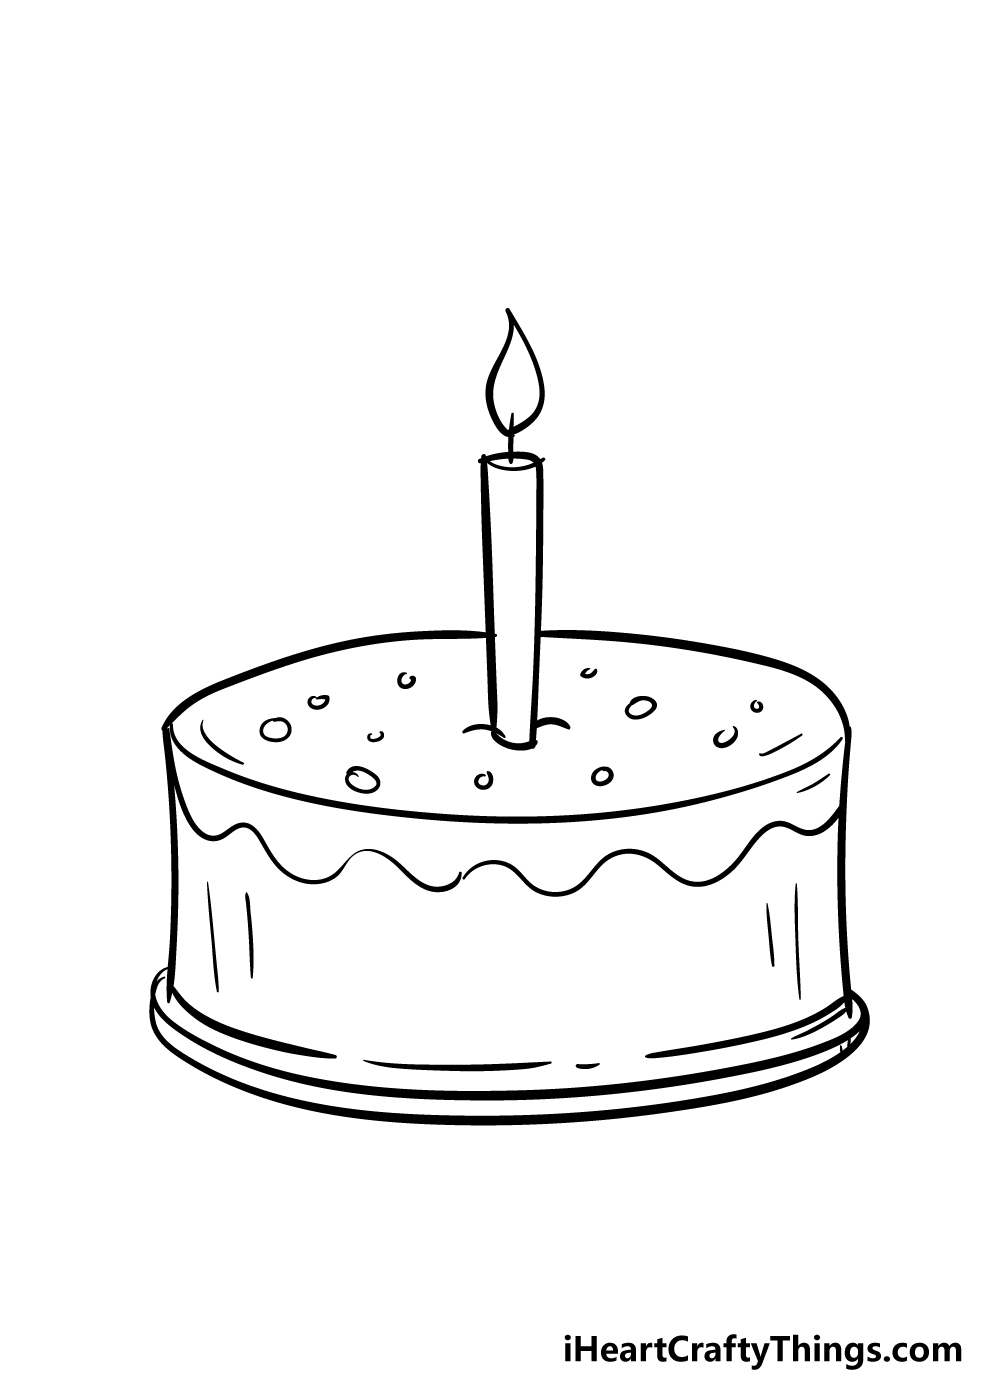
For candles on a birthday cake, draw thin, vertical rectangles on top of the cake, and then add a small flame shape at the very top of each one. You can make them different heights for a more dynamic look. A colorful cake is perfect for any birthday party, and candles really complete that picture, you know? They are very simple to add, too.
You might also consider adding cherries, strawberries, or other fruit on top. These can be drawn as simple circles or ovals with a small stem. Or maybe some chocolate shavings, which are just small, curled lines. These little additions make your cake look even more appealing and unique. It's almost like putting the finishing touches on a real cake, really, and it makes a big difference.
Exploring Different Cake Styles
Cakes come in so many wonderful shapes and sizes, and drawing them can be just as varied and fun. From a tiny cupcake to a grand, multi-tiered masterpiece, each style offers a new chance to practice your easy cake drawing skills. It's a bit like trying different recipes, you know, each one has its own charm. Using a blend of butter and oil for a cake makes it light but moist, and similarly, different drawing styles can give your cake drawing a different feel.
Thinking about the different kinds of cakes can give you lots of ideas for your drawings. You could draw a simple, classic vanilla cake, or perhaps a rich chocolate cake. Maybe even a red velvet, with its distinctive color and frosting. Each type has its own visual cues that you can emphasize in your drawing. It's really quite interesting to explore, as a matter of fact, all the possibilities.
Don't limit yourself to just one type of cake. Experiment with different forms and see what you enjoy drawing the most. The more you try, the more confident you'll become, and the easier it will feel to draw any kind of cake you can imagine. It's all part of the learning process, you know, and it's meant to be enjoyable.
Sketching a Cute Cupcake
Cupcakes are, in a way, miniature cakes, and they are absolutely adorable to draw. Get the best cupcake recipes from Food Network, including classics like vanilla, chocolate, and red velvet, and you'll see how much visual variety there is. To draw a cupcake, start with a U-shape for the cupcake liner. Make the sides slightly flared outwards, like a little paper cup, you know?
Above the U-shape, draw a rounded, puffy shape for the cake part and the frosting. This can be a simple dome or a swirly mound, depending on how much frosting you want your cupcake to have. You can make the frosting look extra fluffy by using wavy or slightly jagged lines at the top. This gives it a soft, appealing texture, sort of.
Add some vertical lines on the U-shape to suggest the pleats of the cupcake liner. These small lines make it look more realistic. You can also add a cherry or a sprinkle on top of the frosting for an extra cute touch. It's a very simple and quick drawing, but it's also very satisfying, honestly, to see it come together.
Drawing a Grand Layered Cake
For a grand layered cake, the kind with tall layers and fluffy frosting that's perfect for any birthday party, you'll build upon the basic round cake shape. Start by drawing multiple cylinder shapes stacked one on top of the other. Make each cylinder slightly smaller than the one below it, creating a tiered effect. This gives your cake a very impressive presence, you know?
Between each tier, draw those wavy frosting lines to show the generous amount of icing holding everything together. You can make the frosting on the top layer extra fluffy and decorative, with swirls or peaks. This is where you can really emphasize that decadent, moist look. It's all about making it look rich and inviting, really.
Don't forget to add details like candles, ribbons, or even a little cake topper on the very top tier. These elements truly complete the look of a celebratory cake. The sponge is Ree's best chocolate sheet cake, which here forms a sandwich with a delicious white frosting, similar to that found in a red velvet, and that layering principle applies beautifully here. It's a bit more involved than a single cake, but still very achievable, as a matter of fact.
Tips for Your Easy Cake Drawing Journey
Drawing should always be a joyful activity, and when it comes to easy cake drawing, there are a few simple tips that can make your experience even better. Remember, the goal isn't to create something absolutely perfect right away, but rather to enjoy the process and see your skills grow over time. It's a journey, you know, not a race to the finish line.
First off, practice really does make a difference. The more you draw, the more comfortable you'll become with your pencil and paper. Don't worry if your first few cakes don't look exactly like you imagined. Every line you draw, every sketch you make, is a step towards getting better. It's pretty much like learning any new skill, honestly.
Also, don't be afraid to use light lines when you start. These are your guide lines, and they are meant to be erased later. It gives you the freedom to adjust and refine your drawing without leaving messy marks. Think of it as sketching out your thoughts before you commit to them, sort of. This approach can really reduce any pressure you might feel.
Finally, and perhaps most importantly, have fun! Drawing cakes is about celebrating sweetness and creativity. Let your imagination lead the way, and don't be afraid to experiment with different styles, colors (if you decide to add them), and decorations. It’s a very rewarding thing to do, you know, just to create something with your own hands. You can learn more about drawing basics on our site, and link to this page for more dessert-themed art ideas.
Frequently Asked Questions About Cake Drawing
What is the easiest way to draw a cartoon cake?
The easiest way to draw a cartoon cake is to start with very basic shapes like a rectangle or a cylinder for the main body. Then, add a simple, wavy line on top for the frosting, making it look fluffy or swirly. You can use large, simple shapes for candles or sprinkles, keeping the details minimal and friendly. It’s all about simplicity and clear outlines, you know, for that cartoon feel.
How do I make my cake drawing look more realistic?
To make your cake drawing look more realistic, focus on adding subtle textures and shadows. For instance, you can use very light, short lines to suggest the moistness of the cake sponge, or gentle shading to show the roundness of the frosting swooshes. Think about how light would hit the cake and create darker areas. Adding tiny, irregular dots for sprinkles or small, soft lines for crumbs around the base can also help a lot, as a matter of fact.
What are some simple decorations I can add to my drawn cake?
Some very simple decorations you can add to your drawn cake include tiny dots or short dashes for sprinkles, which are very easy to do. You could also draw small circles for cherries or berries on top. Simple candles, which are just thin rectangles with a small flame, are also a classic. Even just a few wavy lines for a ribbon around the base of the cake can add a nice touch, you know, without being too complicated.

Detail Author 👤:
- Name : Cali Harber
- Username : evie45
- Email : mueller.josephine@yahoo.com
- Birthdate : 1976-08-06
- Address : 6092 Trycia Greens Apt. 782 Jacobsside, WY 81707-2734
- Phone : 251.609.5916
- Company : Jerde, Ward and Donnelly
- Job : Biophysicist
- Bio : Sed repellendus quam ipsum iure. Laudantium odit veniam numquam. Et minus ab quia aperiam cupiditate. Ex optio dolorem sapiente quam.
Socials 🌐
instagram:
- url : https://instagram.com/lwintheiser
- username : lwintheiser
- bio : Iste dolorem distinctio voluptas ipsum reprehenderit. Veniam ut hic sunt molestiae.
- followers : 6740
- following : 1505
tiktok:
- url : https://tiktok.com/@lenny.wintheiser
- username : lenny.wintheiser
- bio : Est voluptate quo quas numquam. Quos excepturi et omnis.
- followers : 5955
- following : 992
linkedin:
- url : https://linkedin.com/in/lenny_xx
- username : lenny_xx
- bio : Illo ullam odio nam tempora.
- followers : 244
- following : 556
